Last updated October 15, 2026
Room Addition Contractor Maintenance Checklist for Torrance Homeowners
The joint where a new addition meets an existing roofline is the single most common source of water intrusion claims in Southern California additions, and it’s a five-minute visual check that most Torrance homeowners never make. This guide walks you through exactly what to inspect, when to inspect it, and what to document so a small problem at the seam doesn’t become a $15,000 remediation job three years after the final inspection. You’ll learn the maintenance points specific to Torrance’s marine-influenced climate, the signs that your permitted addition was finished correctly, and the warranty documentation habits that protect you if something fails.
Quick Answer
A room addition maintenance checklist for Torrance homeowners should prioritize six areas: the old-meets-new roof flashing and sill plate connection, exterior stucco and paint seams affected by marine humidity, HVAC balance between the original house and the addition, drainage and grading around the new foundation, caulk and sealant joints at windows and doors, and written warranty documentation during the first year. For professional help with any of these items, a Room Addition Contractor can ensure the work is done right. Most items require a visual check twice a year, in spring and fall, and take under an hour combined.
Table of Contents
- Roof Flashing and the Old-Meets-New Connection
- Sill Plates, Foundation Bolts, and Moisture at Ground Level
- How Torrance Marine Humidity Affects Stucco and Paint at Addition Seams
- HVAC Load-Balancing Checks After a Room Addition Ties Into the Existing System
- What to Document in Year One to Support Any Warranty Claim
- Signs a Permitted Addition Was Finished Correctly Versus Shortcuts That Show Up 18 Months Later
- A Working Seasonal Checklist for Torrance Homeowners
- Common Mistakes to Avoid
- When to Call a Professional
- Frequently Asked Questions
Roof Flashing and the Old-Meets-New Connection
A room addition creates a seam where two structures with different ages, materials, and settling rates meet. That seam is where water finds its way in. The roof flashing at the junction of the original roof and the new addition roof is the first place to look, and it should be checked every spring and fall.
What you’re looking for at the flashing:
- Lifted or curled flashing edges: Torrance gets seasonal wind off the Pacific that works flashing loose over time. Run your eyes along the full length of the seam. Any edge that has pulled away from the roofing material by even a quarter inch is a problem.
- Gaps in sealant at flashing laps: Flashing pieces overlap, and the sealant between those laps degrades under UV exposure. In Torrance, that UV exposure is steady year-round, not just in summer.
- Rust or corrosion on galvanized flashing: Salt air accelerates corrosion. If you live west of Crenshaw Boulevard, you’re in a heavier salt-air zone than homeowners in North Torrance or Southwood, and you’ll see galvanized flashing fail faster.
- Debris damming at the roof transition: The valley where the addition roof meets the original roof catches leaves and pine needles. A clogged valley backs water up under the shingles and over the flashing.
On flat or low-slope addition roofs, which are common on Torrance additions built as extra living space off the back of a ranch house, check the roof membrane at the transition point. Look for blisters, cracks, or ponding water that doesn’t drain within 48 hours after rain. Ponding water on a Torrance flat roof in the wet months of January through March means the slope was underbuilt or the roof has settled, and it will find its way to the seam.
If you’re comfortable on a ladder, this is a visual inspection you can do yourself. If the roof is steep or you have a two-story addition, do not climb. A pair of binoculars from the ground works well for most checks. And if you see anything that looks wrong, call a professional before the next rain. A roof seam repair typically runs $400 to $900 in Torrance when caught early. The same leak left alone for a winter costs $8,000 to $15,000 in drywall, insulation, and framing repair.
For homeowners considering an addition rather than maintaining one, our Room Addition Contractor in Torrance page covers what a properly built roof tie-in looks like on day one.
Sill Plates, Foundation Bolts, and Moisture at Ground Level
The sill plate is the treated wood member that sits directly on top of the concrete foundation. It’s the anchor point for every wall in your addition. When a sill plate gets wet and stays wet, it rots, and the wall above it loses its structural connection. In Torrance, the biggest threat to sill plates is irrigation overspray and soil that’s been graded too high against the exterior wall.
Here’s what to check at ground level, twice a year:
- Walk the perimeter of the addition and look at the bottom edge of the stucco or siding. There should be at least 4 to 6 inches of exposed concrete foundation between the soil and the start of the wall finish. If soil, mulch, or pavers have crept up to cover the sill line, the wood is wicking moisture from the ground.
- Check sprinkler head placement. A sprinkler that sprays directly onto the addition wall will keep the sill plate damp every time it runs. In Torrance, where many homes run irrigation year-round for lawns and landscaping, this is one of the most common causes of sill plate rot we see. Sprinkler heads should be adjusted or capped so they never spray the building.
- Look for mud tubes or frass. Subterranean termites enter through the sill plate. Torrance’s older neighborhoods, especially the post-war housing stock in areas like Old Torrance and Walteria, have termite pressure. During the dry months of August through October, termite activity peaks. Mud tubes climbing over the foundation are a clear sign of an active infestation.
- Inspect accessible foundation bolts from the crawlspace or basement side, if you have one. You’re looking for rust on the bolt heads and washers. Rusted bolts mean moisture is present in the sill plate area, even if the exterior looks dry.
If you catch irrigation overspray early, the fix is a $50 sprinkler adjustment or a $30 splash guard. If the sill plate rots out, you’re looking at $3,000 to $8,000 in structural repair depending on the length of wall affected.
Foundation drainage matters too. After a heavy Torrance rain, walk around the addition and look for water pooling within three feet of the foundation. The soil should slope away from the building at a rate of about six inches of drop over the first ten feet. If water is pooling or flowing toward the foundation, the grade needs correction, and that correction should happen before the next winter.
How Torrance Marine Humidity Affects Stucco and Paint at Addition Seams
Torrance sits in a marine climate zone. That means morning fog from May through August, salt in the air west of Hawthorne Boulevard, and a humidity profile that’s different from inland cities like Gardena, Carson, or Redondo Beach’s eastern edges. The west side of Torrance gets significantly more fog exposure than the east side, and that fog settles on exterior walls every summer morning.
At the seam where a new addition meets the original structure, the two wall assemblies expand and contract at different rates. The original wall has been through decades of seasonal cycling. The new addition is still settling. The joint between them, which was filled and finished at the end of construction, will crack. That’s not a sign of bad workmanship. It’s a fact of construction physics.
The question is how you respond to those cracks.
What to inspect at exterior seams:
- Hairline cracks at the seam line: In the first 12 to 18 months, a new addition will develop small cracks at the old-meets-new joint as the structure settles. This is normal. What matters is whether water is getting into the crack and whether the crack is growing.
- Blistering or peeling paint near the seam: Moisture trapped behind paint causes the paint to lose adhesion. If you see blisters forming only on the new addition side of the seam, or only at the seam itself, water is entering somewhere and it’s not drying out.
- Efflorescence on stucco: That’s the white, chalky mineral deposit that appears on stucco when water moves through it and evaporates, leaving salt behind. Efflorescence at the seam means water is penetrating the wall surface or entering at the flashing above. In Torrance’s fog belt, this shows up more often than homeowners expect because the wall gets moisture from both rain and condensation.
- Dark staining at the bottom of the addition wall, not at the seam: This is a different issue, usually sprinkle overspray or a drainage problem, but it’s worth noting because it accelerates paint failure.
For paint maintenance, the marine humidity means you should expect to repaint the exterior of an addition every five to eight years in Torrance, compared to seven to ten years inland. Use a high-quality acrylic latex paint with a mildewcide additive if you’re west of Crenshaw. And never paint over a wet wall or a wall that’s been damp within the last 72 hours. The paint will fail within the first year.
If you’re planning a new addition and want to avoid seam problems from the start, the way the Fielding ADU Torrance home team approaches the old-meets-new structural connection is worth understanding before you sign a contract.
HVAC Load-Balancing Checks After a Room Addition Ties Into the Existing System
When a room addition is tied into the home’s existing HVAC system, the system was probably sized for the original square footage. Adding 300 or 500 square feet of living space changes the load calculation, and most Torrance homes don’t get a new system installed when the addition goes in. The result is an imbalance that shows up within the first year.
Here’s how to check whether your HVAC system is handling the addition properly:
- Track the temperature difference between the addition and the rest of the house. On a hot August afternoon, walk from the original living room into the addition. If there’s a consistent difference of more than four degrees on a regular basis, the system is underperforming for the added space. The same check applies in winter, though Torrance winters are mild and this is less of a concern.
- Check the registers and returns in the addition. Most additions built to code include supply registers, but many don’t include a return air path. If the addition has a door that’s usually closed and no return register, the room can’t breathe properly. The supply air has nowhere to go, and the addition stays warm and stuffy. A simple fix is undercutting the door or adding a transfer grille, which runs $150 to $400. A proper fix is running a return duct.
- Listen for airflow at registers when the system runs. If you hear air moving but can’t feel it from a few feet away, the ductwork may have come disconnected or was never properly sized. In additions where the duct run is long and snakes through the attic, this is a common deficiency.
- Check the thermostat location. If the thermostat is in the original part of the house and the addition is on the opposite side, the system doesn’t know the addition is hot or cold. Consider a temperature sensor in the addition that feeds the main thermostat, which typically costs $200 to $500 installed.
The longer-term fix for a chronically imbalanced system is a load calculation and possible equipment upsizing or a ductless mini-split dedicated to the addition. A mini-split for a 300-square-foot addition runs roughly $4,000 to $7,000 installed in Torrance. Before you spend that money, though, check the simple things: open registers, clean filters, a clear return path, and thermostat placement. Many imbalances are $50 fixes.
A related concern is attic ventilation above the addition. If the new attic space isn’t properly ventilated, heat builds up and transfers into the living space. In Torrance’s summer months, an unventilated addition attic can hit 140 degrees, and that heat load defeats even a properly sized HVAC system.
What to Document in Year One to Support Any Warranty Claim
The first twelve months are when you’re protected by the contractor’s workmanship warranty. What you document during that year determines whether a warranty claim is a simple phone call or a contested negotiation. Most homeowners lose warranty disputes not because the contractor is dishonest, but because they never established a baseline record. For related guidance, see our Seasonal ADU Care for Torrance: Year-Round Homeowner’s Guide.
Here’s the documentation habit that protects you:
- Take dated photos of every seam, joint, and transition point within thirty days of final inspection. Roof flashing, the old-meets-new wall seam, sill plate exposure, caulk joints at windows and doors, interior drywall corners, and any exterior paint transitions. These are your baseline. Date them by naming the files with the date or keeping them in a dated folder.
- Keep a simple log of any issue you notice, with the date you noticed it. “June 14: hairline crack at seam on west wall, approximately 18 inches long, less than one-sixteenth inch wide.” That’s enough. The log doesn’t need to be technical. It needs to be dated and specific.
- Photograph issues when you first notice them, not after they’ve worsened. A crack that’s one-sixteenth inch wide in June and three-sixteenths inch wide in September tells a story. Without the June photo, the September photo just shows a crack.
- Keep the written warranty in a place where you can find it. If your contractor’s warranty is verbal, that’s a red flag. The Garrison Standard at Fielding ADU Torrance is a written guarantee covering workmanship for 365 days. If something fails within that year, we return and correct it at no charge. The written price you approved is the price on the final invoice. That’s the standard, and it’s the same standard the ADU Builders in Torrance team works from.
- Report issues promptly, before the warranty expires. Warranty periods have an endpoint. If you wait until month fourteen to report a problem that started in month nine, you’ve lost leverage. Report when you first see it, even if it seems minor.
One more documentation point that Torrance homeowners often miss: keep your permit records. The City of Torrance keeps permit records online, but having your own copy of the final inspection sign-off and the permit number makes any future work, sale, or dispute resolution smoother. If you sell the home, the buyer will ask about the permitted addition. Having the paperwork in order adds value at resale.
Signs a Permitted Addition Was Finished Correctly Versus Shortcuts That Show Up 18 Months Later
Most construction shortcuts aren’t visible on the day of final inspection. They show up later, typically in the 12 to 24 month window. Here’s what correctly finished work looks like versus what shortcut work looks like, so you can distinguish normal settling from a genuine problem.
Roof tie-in: A correct tie-in has step flashing that integrates into the existing roof plane, counter-flashing over it, and sealant that’s still intact at the one-year mark. A shortcut tie-in uses continuous flashing laid over the seam without proper interleaving, or relies on sealant alone. The shortcut shows up as a leak within the first two winters. In Torrance, those winters are mild, but a single heavy February storm will expose it.
Foundation and framing: Correct work has anchor bolts spaced per code, pressure-treated sill plates, and no visible movement at the old-meets-new foundation seam. Shortcut work skips anchor bolts or uses untreated lumber where the code requires treated. The symptom that shows up is a crack at the seam line that grows wider than one-eighth inch, or doors in the addition that begin to stick or fail to latch. Some settling is normal. A door that wedges shut in the frame is not.
Stucco and exterior finish: A correct finish has control joints at the old-meets-new transition, which are intentional gaps that allow the two structures to move independently. The joint is then filled with a flexible sealant. A shortcut finish lathers stucco over the seam without a control joint. The stucco will crack, because it has no give, and that crack will eventually let water in. This is one of the most common shortcuts we see on additions built by contractors who were in a hurry.
Interior drywall: Correct work has a reveal bead at the transition between old ceiling and new ceiling, which creates a clean line and allows for differential movement. Shortcut work tapes and floats the joint as if it were a normal drywall seam. Within 18 months, a hairline crack appears along the joint line. The crack itself isn’t usually structural. It’s cosmetic, and it happens because the two ceiling planes move independently and the rigid joint can’t accommodate the movement.
HVAC integration: Correct work runs a proper load calculation and sizes the duct runs for the new space. Shortcut work ties into the existing plenum with whatever flex duct is on hand. The symptom is the temperature imbalance described in the section above, and it’s one of the first things a homeowner notices.
If you’re in the research phase and want to understand what a properly permitted Garage Conversion Contractor in Torrance delivers versus a crew that works fast and vanishes, the checklist above applies to conversions too. A garage conversion has the same old-meets-new seams, the same HVAC questions, and the same warranty documentation needs.
A Working Seasonal Checklist for Torrance Homeowners
Here’s a consolidated checklist you can follow. Print it, put it in a folder with your permit paperwork, and run through it twice a year. Spring is the important one, because you want to catch winter damage before the dry season masks it. Fall is the second pass, before the rainy season starts.
Spring (March to April):
- Inspect roof flashing at the old-meets-new seam after winter rains. Look for lifted edges, sealant gaps, and rust.
- Check for debris in roof valleys and at the transition point. Clear leaves and pine needles.
- Walk the exterior seam line from foundation to roofline. Photograph any new cracks and note them in your log.
- Check sill plate exposure. Soil, mulch, or pavers should not touch the wall finish. Look for termite mud tubes.
- Inspect sprinkler heads and adjust any that spray the addition walls.
- Run the HVAC system and compare temperature between the addition and the rest of the house. Change filters.
- Check caulk joints at all addition windows and doors. Look for gaps or dried, cracking sealant.
Fall (September to October):
- Repeat the roof flashing and seam inspection before the rainy season begins.
- Check drainage and grading. Soil should slope away from the addition foundation.
- Inspect for termite activity, which peaks in late summer and early fall in Torrance.
- Check HVAC operation in heating mode, if your system provides heat, and verify the addition is warming properly.
- Re-caulk any joints that show signs of wear. In Torrance’s marine air, exterior caulk typically lasts three to five years before it needs replacement.
- Verify your warranty documentation is current, and that any issues logged during the year have been photographed and reported.
This whole routine takes about an hour twice a year. It’s the cheapest maintenance you’ll ever do on an addition that cost $100,000 or more to build.
Common Mistakes to Avoid
- Ignoring the roof seam because it’s not leaking yet. The roof transition point is the highest-stakes seam on your addition. By the time water shows up on the ceiling drywall, the roof structure has already been wet for months. A five-minute seasonal visual check catches it before the leak starts.
- Letting landscape creep cover the sill plate. Soil, mulch, and pavers that pile against the addition wall hold moisture against the wood sill and create a direct path for termites. Torrance’s termite pressure is real, and the sill plate is their preferred entry point.
- Assuming the HVAC system is fine because it was inspected. A city inspection verifies code compliance, not comfort. A system that meets code can still be undersized for the added load. The four-degree temperature check costs nothing and tells you whether your system needs help.
- Not documenting the baseline in year one. When you don’t have dated photos from the first month, you can’t prove whether a crack is new or has been there since completion. The documentation habit is the single most important thing you can do to protect your warranty.
- Waiting until the warranty expires to make a claim. Most workmanship issues show up within the first year. If you see something in month eight, report it in month eight. Month sixteen is too late.
- Caulking over a structural crack instead of addressing it. A crack at the old-meets-new seam that’s growing wider than an eighth of an inch is a structural concern, not a caulk job. Caulking hides the symptom. It doesn’t fix the movement.
- Doing roof inspections on a ladder without proper setup. If the roof is steep, the roof line is high, or you’re not confident on a ladder, use binoculars from the ground or call a professional. Falling from a roof is never worth the inspection.
When to Call a Professional
You don’t need a contractor for every item on this checklist. Most of it is visual, and most homeowners can handle it with a ladder, a flashlight, and a camera. But certain findings warrant a professional look. Call a contractor if you see water staining on interior ceilings or walls, a roof seam that’s visibly separated, cracks in the addition that are growing wider than an eighth of an inch, doors that jam or won’t latch, or termite mud tubes anywhere along the foundation. Call an HVAC contractor if the addition runs more than four degrees warmer than the rest of the house consistently in summer. And if you’re not sure whether what you’re seeing is normal settling or a problem, a professional walk-through costs less than letting a small issue compound. For budgeting context on similar projects, see our ADU Cost Breakdown: The Torrance Homeowner’s Reference for 2026. Fielding ADU Torrance offers free estimates in Torrance, and you can call (424) 358-3068 to schedule one.
Frequently Asked Questions
Twice a year, once in spring and once in fall. Spring catches winter rain damage before the dry season masks it, and fall prepares the addition for the rainy season that runs from November through March in Torrance.
Normal settling shows up as hairline cracks at the old-meets-new seam within the first 18 months, typically less than one-sixteenth inch wide and not growing. A structural problem shows up as cracks wider than one-eighth inch, cracks that continue to grow, doors that stick or fail to latch, or separation at the roof seam. If you’re unsure, call (424) 358-3068 and we’ll take a look.
Caught early, a roof seam repair in Torrance typically runs $400 to $900. The same leak left through a wet season becomes a $8,000 to $15,000 repair that includes drywall, insulation, and possibly framing. The cost difference is the inspection.
Yes. Homes west of Crenshaw Boulevard in Torrance get heavier fog and salt-air exposure, which means exterior paint on additions typically needs repainting every five to eight years instead of the seven to ten years typical inland. Use an acrylic latex with a mildewcide additive.
Not necessarily. A properly sized existing system with well-designed duct runs can handle a modest addition. The test is the temperature difference between the addition and the original house. If it’s consistently more than four degrees apart, you need either a balancing fix, a transfer grille, or a dedicated mini-split.
Photograph it, date it, log it, and report it to your contractor immediately. Don’t wait to see if it gets worse. Most warranty claims that get denied are denied because the homeowner waited, not because the contractor refused to honor the work. At Fielding ADU Torrance, the written guarantee covers workmanship for 365 days, and we return at no charge to correct defects reported during that year.
The Bottom Line
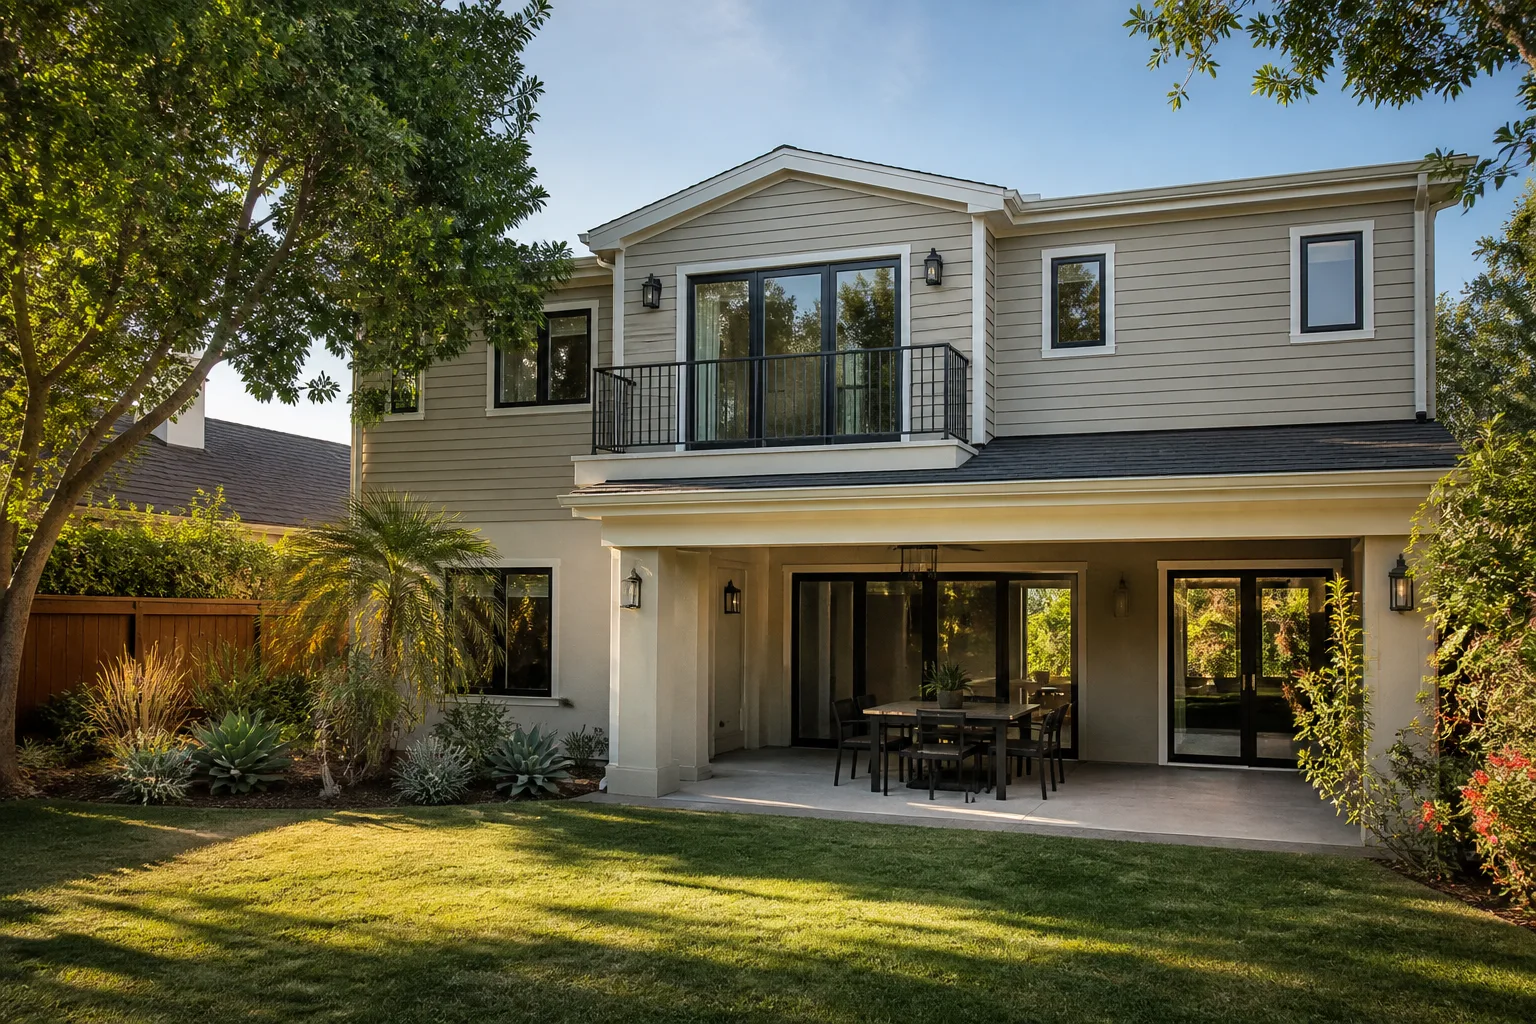
A room addition in Torrance is a six-figure investment that most homeowners inspect never. The checks that matter are simple, seasonal, and cheap: roof flashing at the old-meets-new seam, sill plate exposure, exterior seam cracks, HVAC balance, and warranty documentation. None of this requires technical skill. It requires a calendar reminder and a camera. The homeowners who do this work catch a $500 flashing repair before it becomes a $12,000 remediation, and they have the documentation to hold their contractor to the written guarantee when something fails. The homeowners who don’t usually don’t know there’s a problem until water is running down the wall. For more guides & resources on protecting your investment, visit our blog. For a free estimate on a new addition, or a professional assessment of an existing one, call Fielding ADU Torrance at (424) 358-3068.
Written by Reed Calloway, Owner at Fielding ADU Torrance, serving Torrance since 2006.